# Installation Setup
## Installing AdsPower
### Under Ubuntu
Once you followed my guide on how to get a desktop on a linux VPS you are ready to download the AdsPower debian file.
Just open a terminal and copy paste the following commands (you can copy all lines at once) :
```
sudo apt update
sudo apt install wget
wget https://version.adspower.net/software/linux-x64-global/AdsPower-Global-6.9.24-x64.deb
sudo dpkg -i AdsPower-Global-6.9.24-x64.deb
```
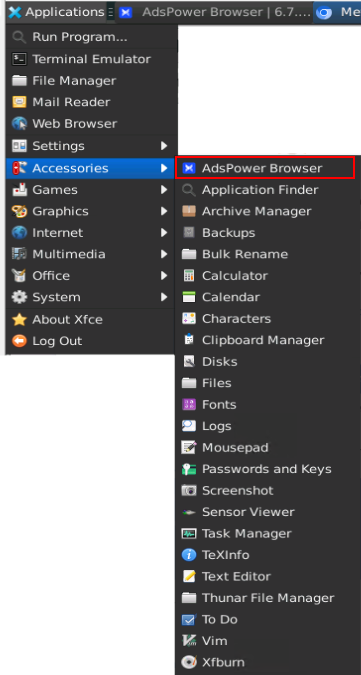
To run AdsPower on Ubuntu Desktop, click on Applications button on top left corner, and find AdsPower under Accessories
## Configure AdsPower
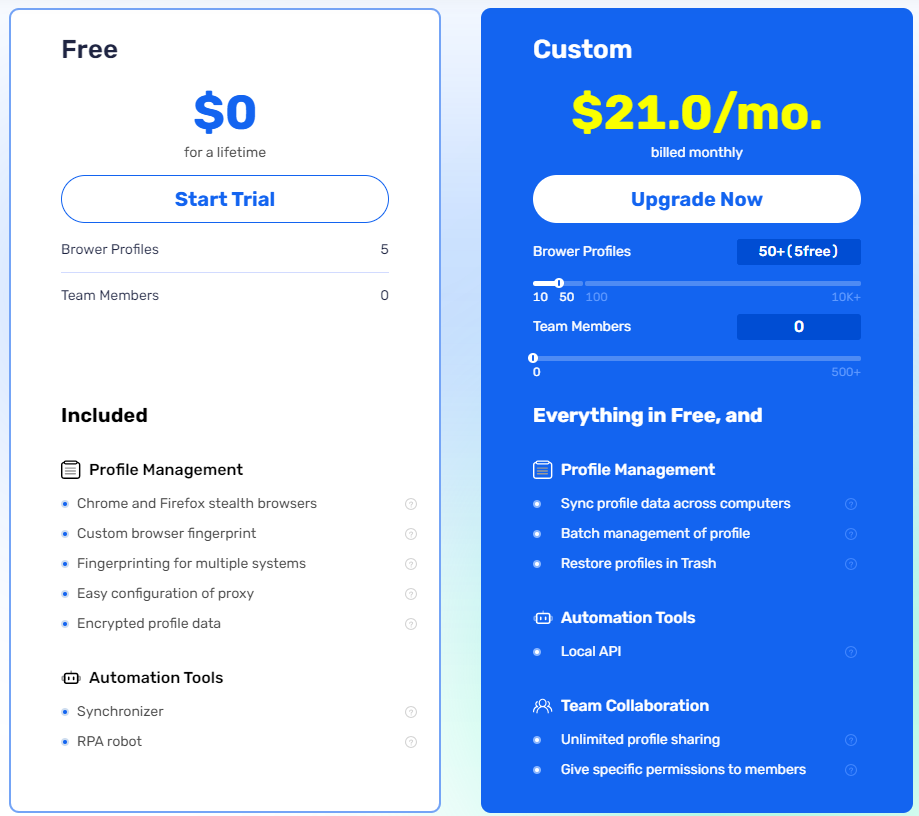
To farm extensions, we will create several Profiles, the free version is limited to 5 profiles, but if you have other VPS you can have 5 profiles on each VPS you are already running, or you can order for 10, 50 or 100 profiles.
As we use a VPS with low resources I would recommend to use 10 profiles, or consider getting an higher level VPS
### Setting Proxies
Proxies are the first thing to consider when thinking about farming multiple accounts, as you will be instantly sybilled if you use same IP.
To get Proxies, I always recommend Residential Proxies instead of Datacenter Proxies, because some DePIN projects like Gradient or Grass detect and block datacenter IPs.
To get Proxies, I recommend using [Proxy-Cheap](https://app.proxy-cheap.com/r/tIYr6f), I have made a guide on [how to order proxies on Proxy-Cheap](https://medium.com/@cryptonodefarmer_80672/how-to-order-and-setup-proxies-ce8aa2c72d4e).
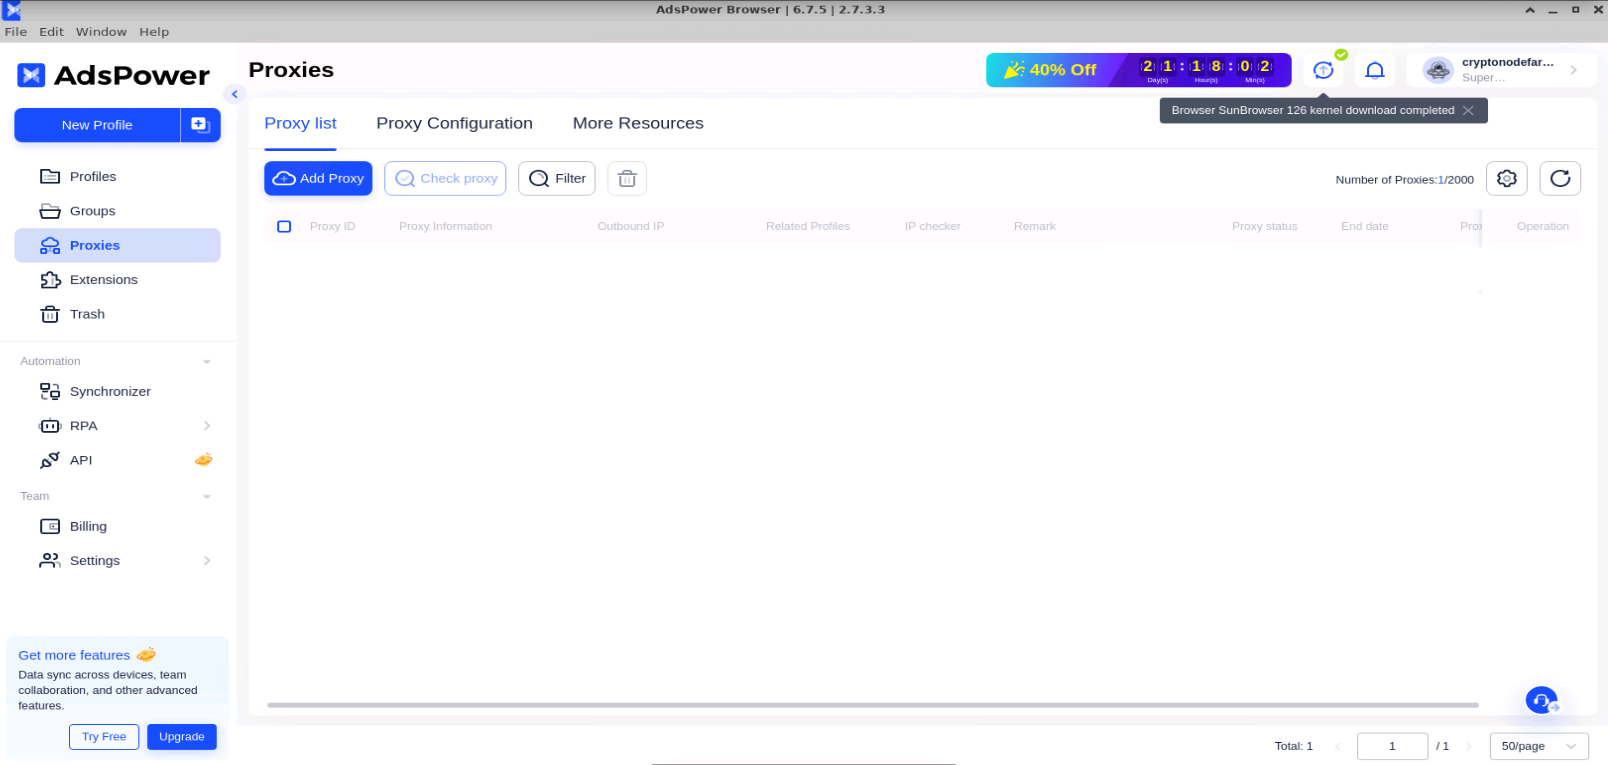
Click on Add Proxy then Paste the proxy list inside the dedicated field
Click on “Check Proxy” then OK to save them
### Setting Extensions
We will now prepare our extensions, so they will be instantly installed on our new profiles
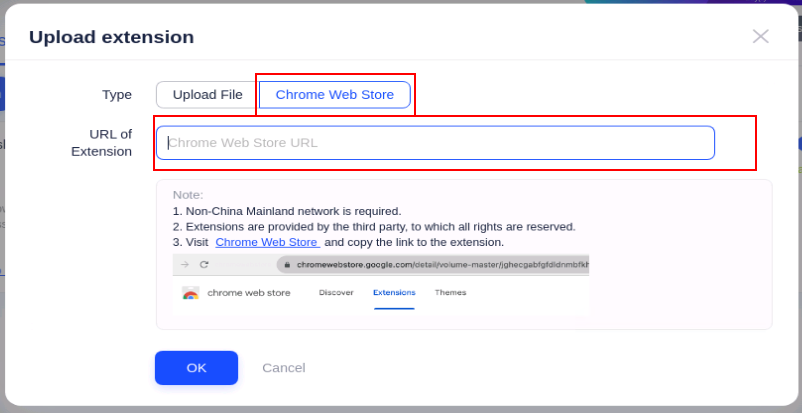
* Click on “Upload Extension”
* Navigate to Chrome Webstore then copy the URL of the extensions you want to add in AdsPower.
* Select “Chrome Webstore” type then paste the url of the extension.
* Click OK
Repeat this process for each extension, you want to add.
Now, we can prepare our profiles
### Creating Profiles
Click on New Profiles Button.
If you have the paid version you can create profile in bulk, if not you will have to create profiles one by one
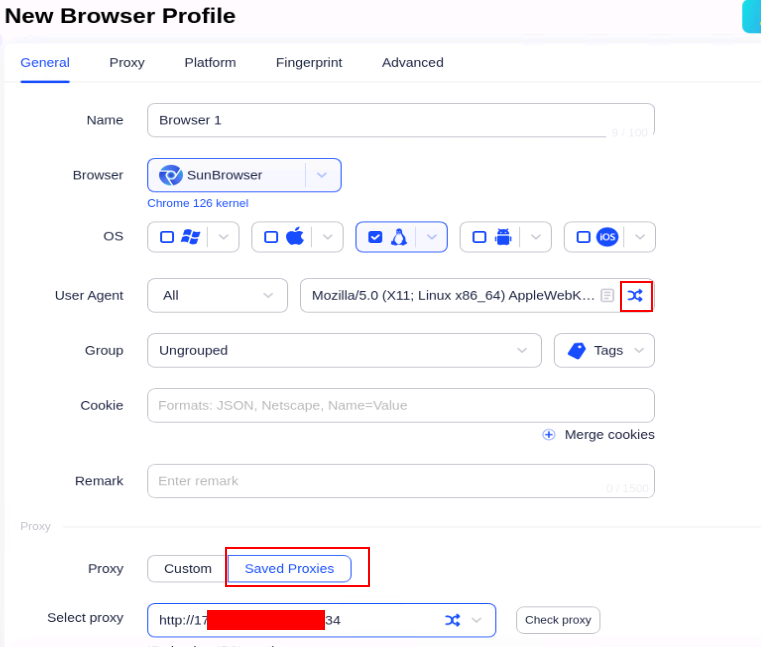
* Click on New Profile (not the +, as + is for Bulk)
* Give a name to your Browser Profile, then follow the screens to set the right configuration
* Select the OS you want
* Randomize User Agent
* Select the proxy from the ones you saved earlier
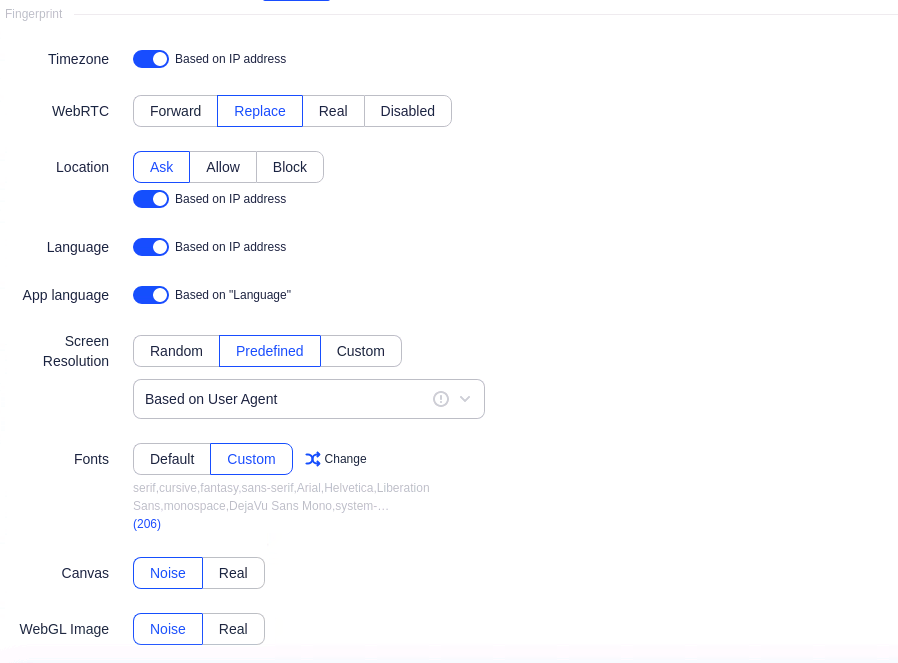
* Duplicate following configuration :
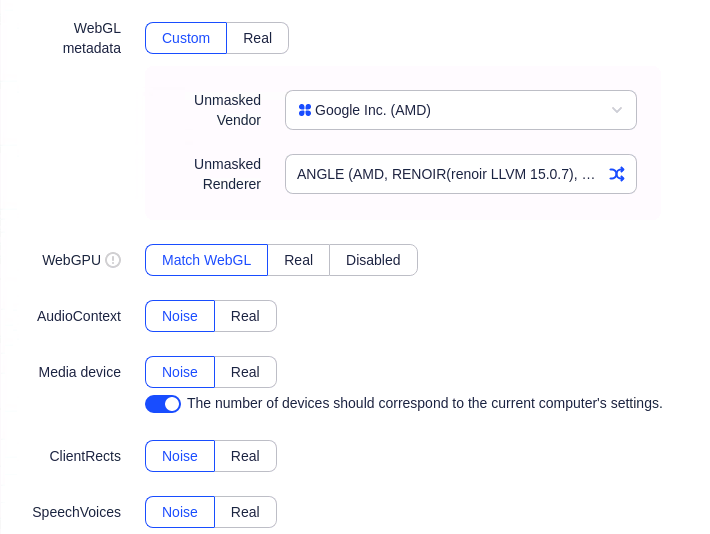
* Duplicate the config except WebGL metadata, just click on the randomize button
* Change these values with what you want :
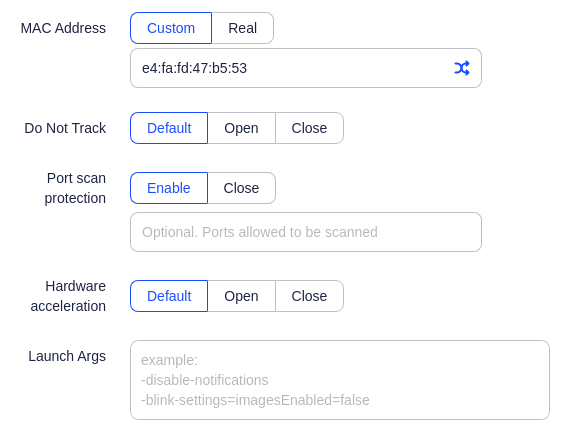
* Remove “-laptop” at the end :
* Then Click OK.
You will see your new profile in the profile list.
Just click on the Open button on the right to Open the Browser.
Now enjoy farming extensions.
***
###